
DRICORE Subfloor Basement Subfloor Solutions
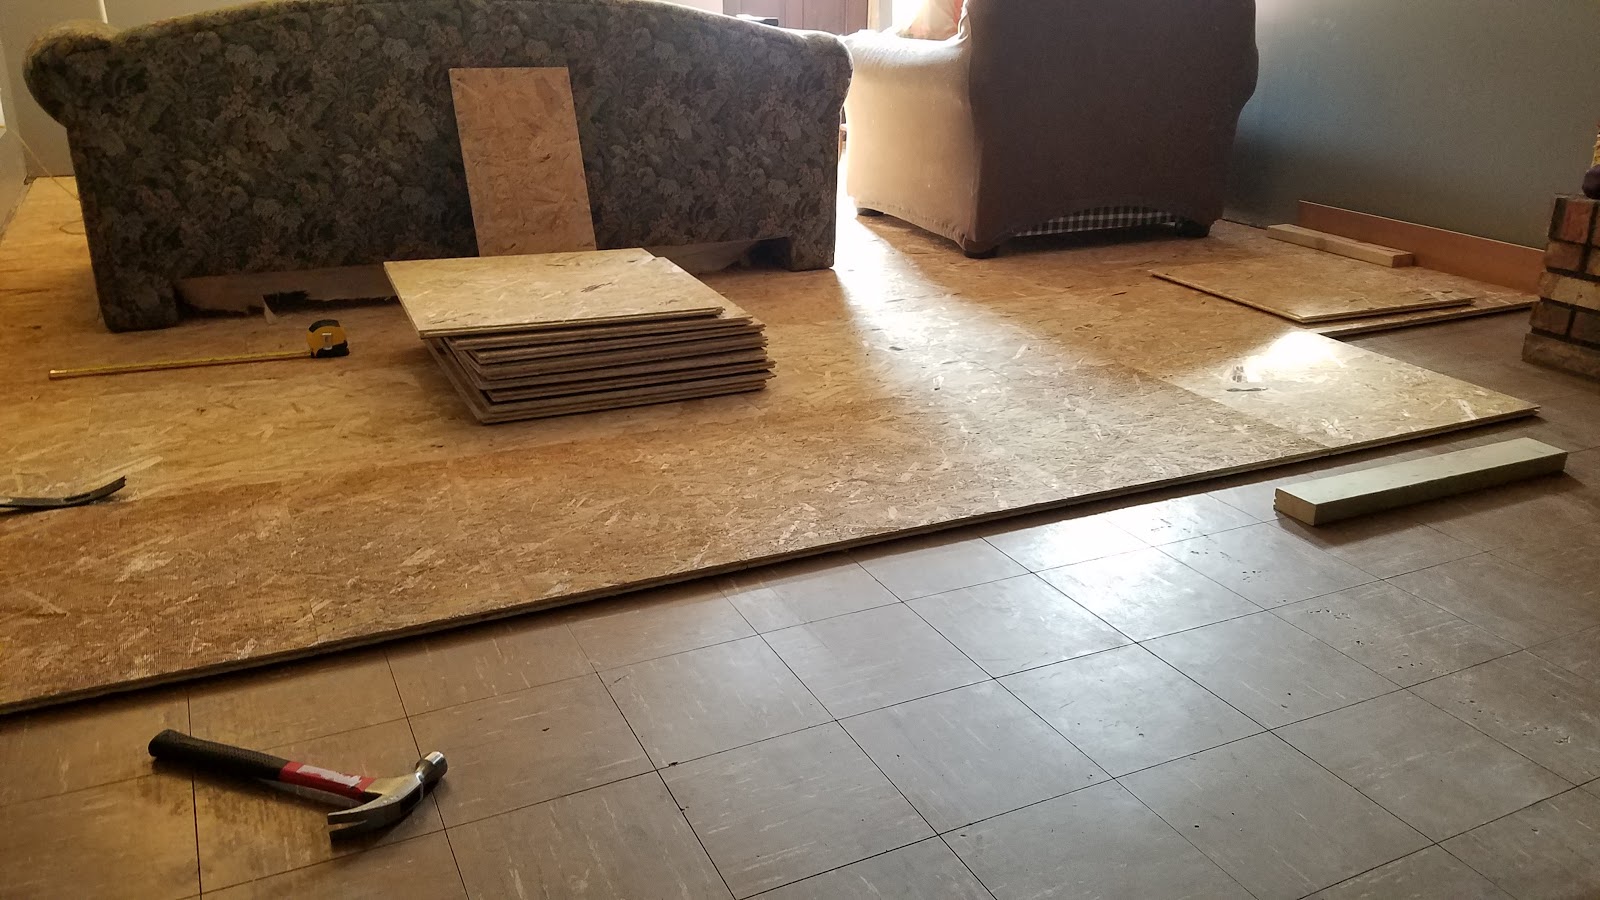
Then we made sure the floor was level and clear of debris. Once that was done the basement was ready to have the subfloor installed. Woohoo! We started in a corner, and laid the first panel with the tongue sides facing the wall side. We made sure to leave a 1/4″ gap between the subfloor tile and the wall.

How to Install a DRIcore Subfloor in Your Basement (with Pictures)
3. "When installing DRICORE Subfloor, always start with the groove side out.". DRICORE Subfloor panels need minimal equipment to install as they are designed to interlock with a tongue and groove feature. Christine of The DIY Dreamer recommends measuring your first row prior to installation. "Make sure that your last panel is at least 3.
DRICore Subflooring Installation Steve's DIY Shack
Panels Slipping. There is no tying or fastening of the panels of the Dricore subfloors. Their installation is done with some glue applied to the concrete. As a result, the slipping of the panel is expected. This can pose plenty of problems for you if you live in an area with a lot of heat. Bouncy Dricore.

How to Install a DRIcore Subfloor in Your Basement (with Pictures)
The basement remodels always included the installation of DRIcore subfloor, the click-together panels that let moisture travel beneath the subfloor and left the flooring (and baseboards, walls, strewn-about toys) dry. The pallets of material arrived, and Mr. Suburble and I immediately got to business. We watched the video, gathered our tools.

Steve's DIY Shack DRICore Subflooring Installation
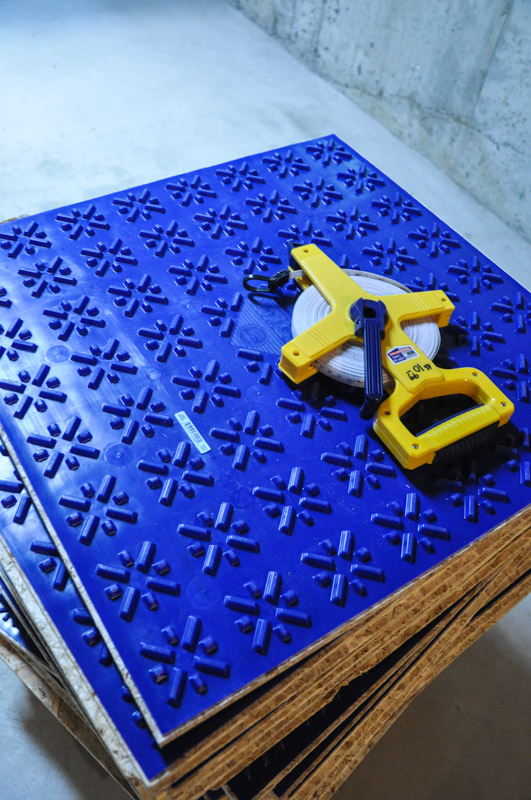
Here is how to install DRICORE Subfloor in a basement. 1. Dry Fit the Space. The first thing we did was to dry fit the space with a row of panels to see what size we would end up with at the end of the row and where we might have to cut. The panels have a tongue and groove design, which makes them easy to install, but check the requirements for.
Basement Renovation DRIcore Subfloor Installation
8. Sweep or vacuum floor to ensure a smooth surface. 9. Install 1/4" temporary spacers along wall edges. 10. Start at the longest wall and pre-measure the length and width of the floor area to ensure the last panel pieces in each row end are greater than 6" in width. Measure to include the ¼ spacer material.

How to Install a DRIcore Subfloor in Your Basement (with Pictures)
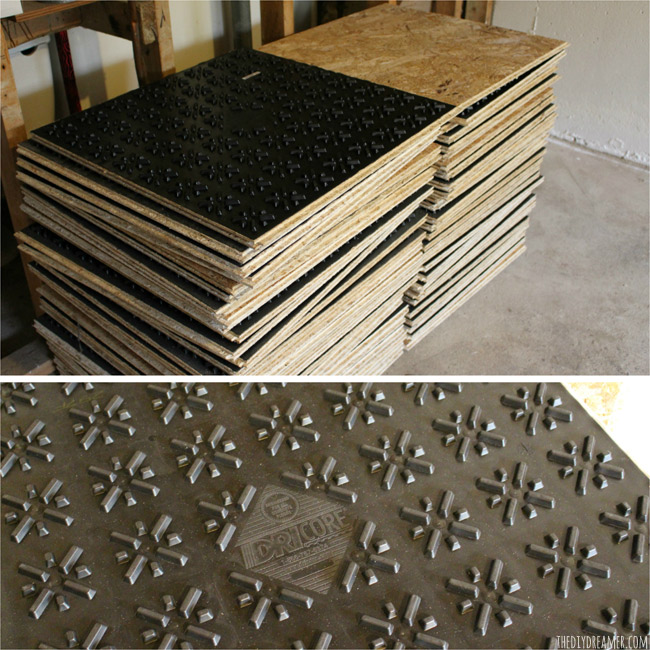
DRICORE products include: Both the original Dricore subfloor and its newer R+ model are equipped with Air Gap Technology. Dricore is very easy to install thanks to the tongue-in-groove subflooring panels that lock together without using glue or tape. Top Pick. 4.7. Complimentary post-installation follow-ups.

How to Install DRICORE® Subfloor in a Basement » Decor Adventures
DRICORE ® Subfloor is a simple do-it-yourself solution to help you create a warm, dry, comfortable basement that is fast and easy to install. DRICORE ® Subfloor is designed with a high density plastic membrane containing a patented air gap pattern to ensure moisture emitted from concrete floors can naturally evaporate. The secondary layer of oriented strand board (OSB) provides a solid.
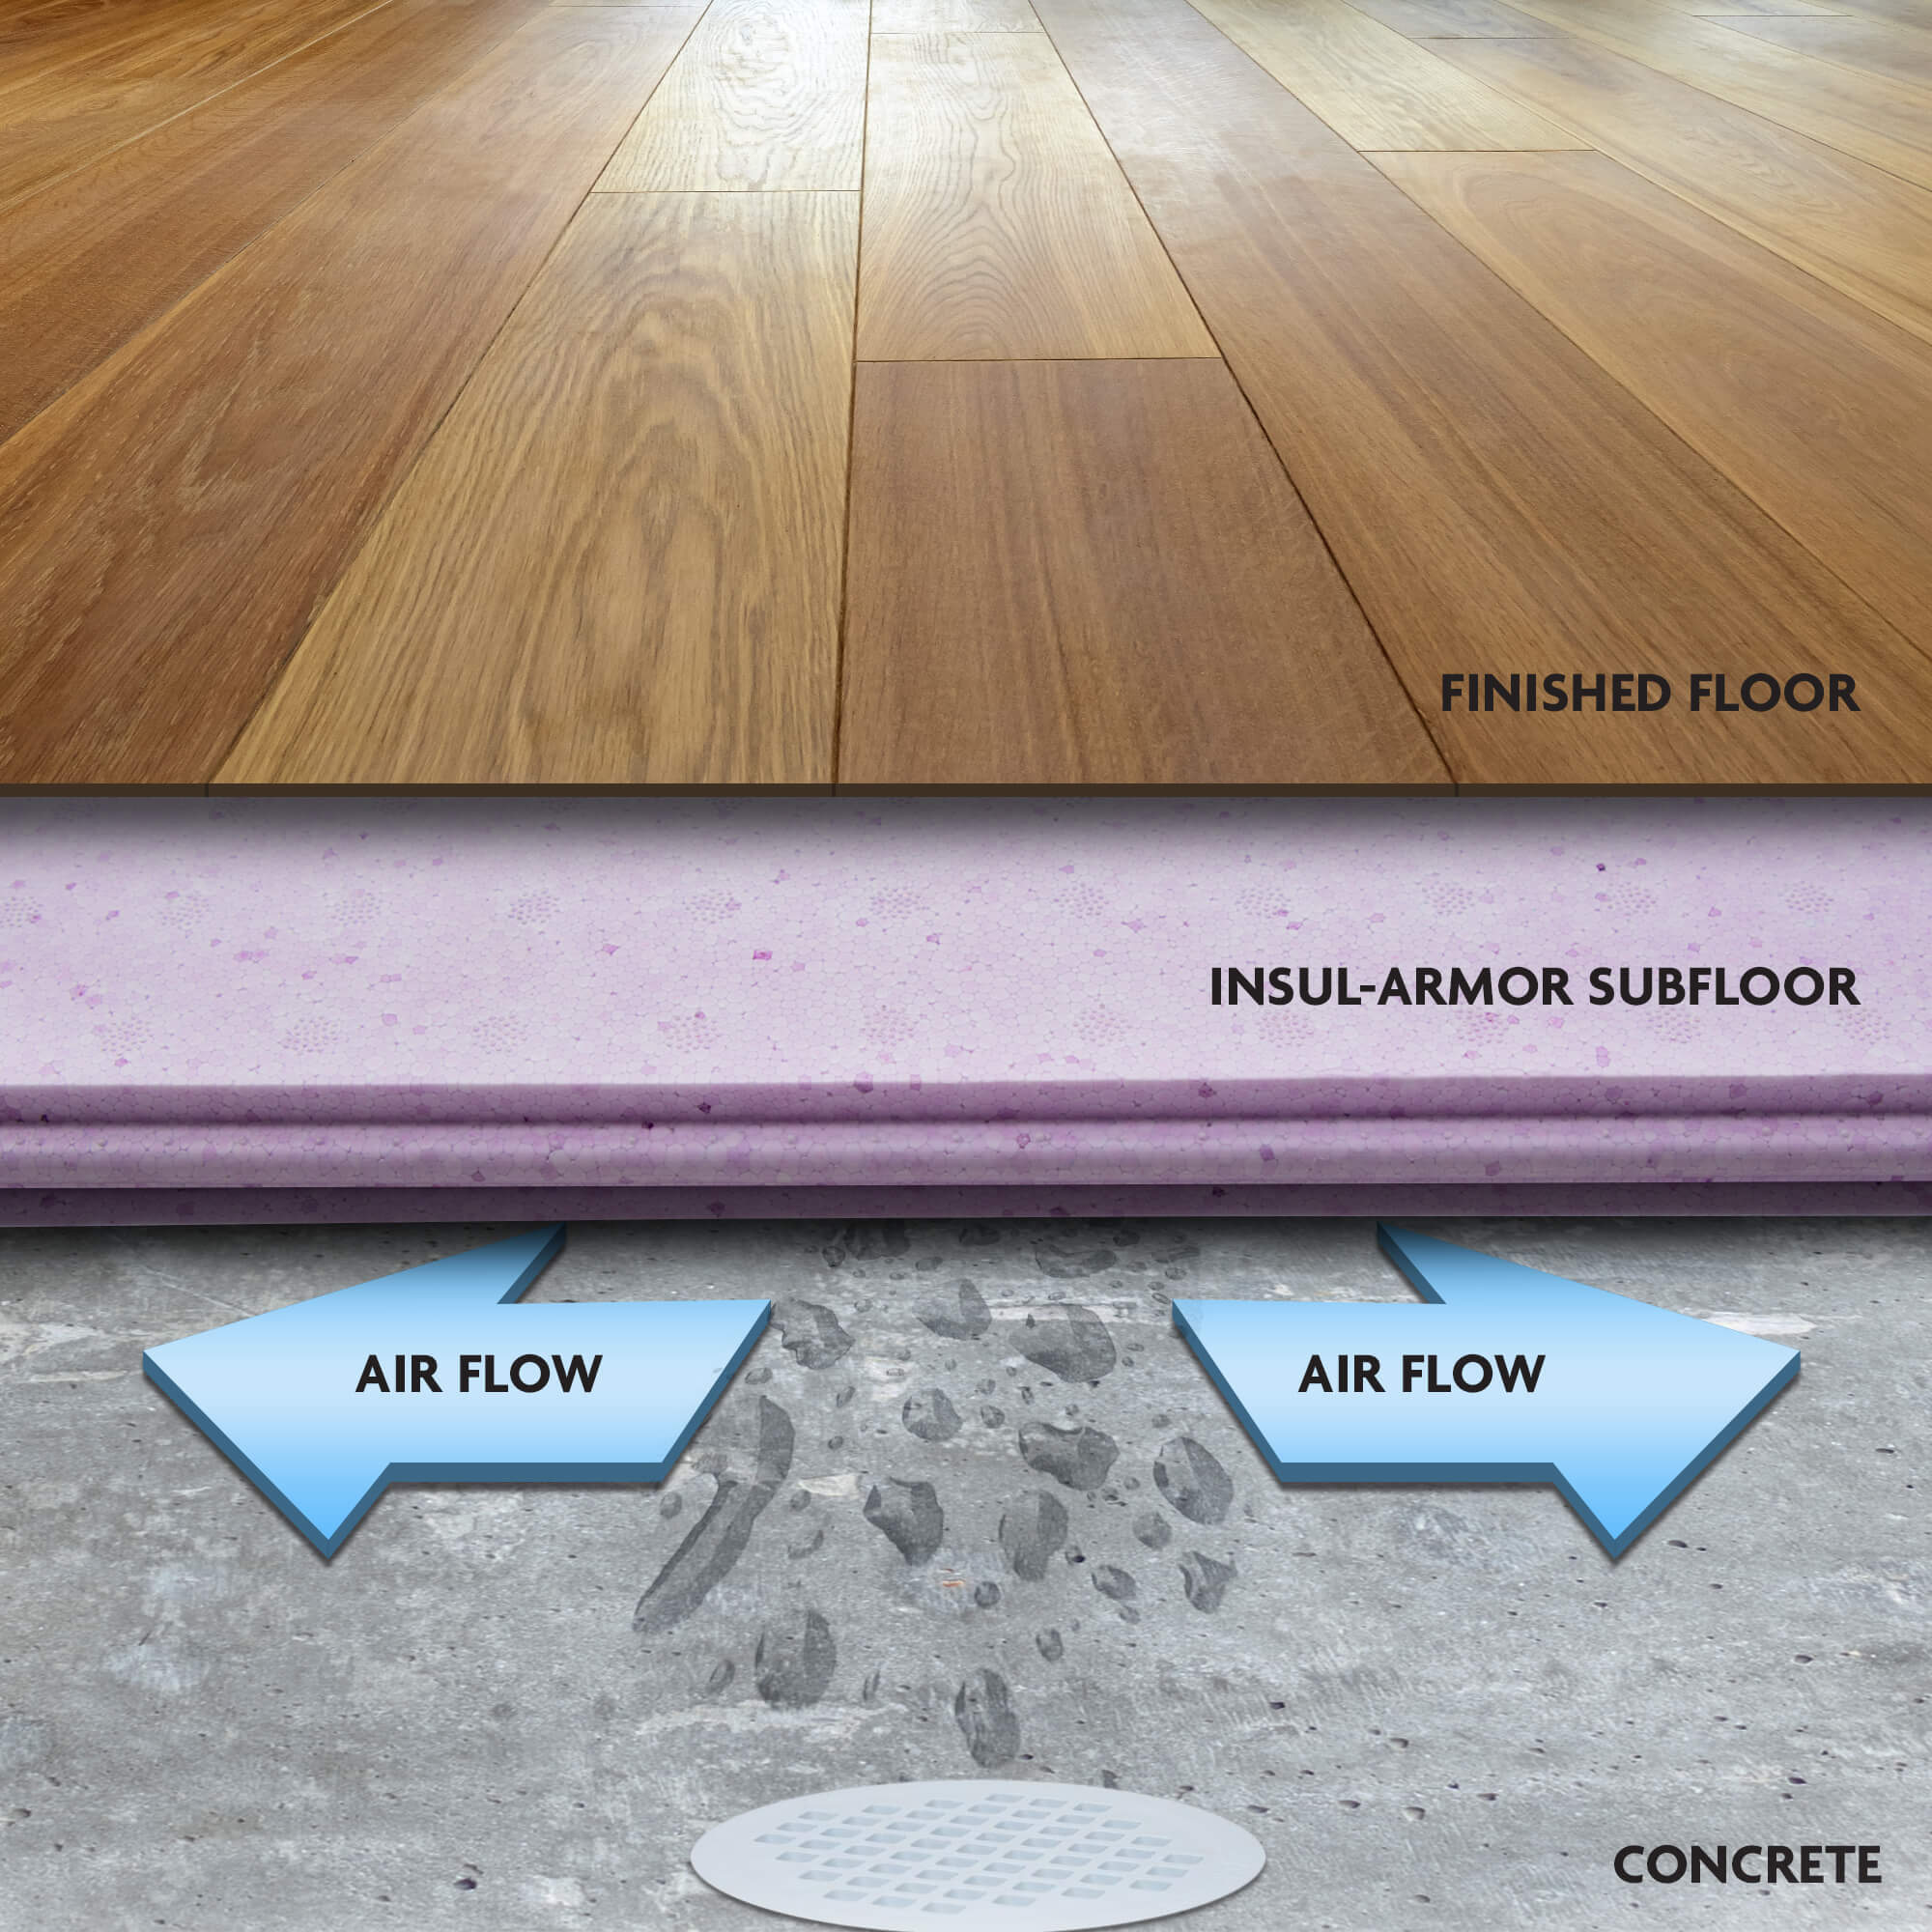
DRICORE InsulArmor Premium Insulated Subfloor
DRIcore Subfloor Installation Video. See how easy it is to install a basement subfloor that will keep you basement warm, dry and comfortable.

How to Install DRICORE® Subfloor in a Basement » Decor Adventures
Dricore helps keep the basement floor dry. Dricore flooring is really a good idea for a basement subfloor. However, get ready to dish out a few bucks. As the average basement floor could cost you around $1,200. Although it could well be worth it. But not all basements need this type of flooring.

How to Install a DRIcore Subfloor in Your Basement Basement subfloor
This is an instructional how-to video for installing DRIcore Subfloor.
How to Install Subfloor Panels howtos DIY
Unsure about the best route to lid and warm up the precast floor on your basement? Air gap subfloor panels elevate real insulate your finished deck quickly and easily. AN subfloor heating finished floors by 6°F (3.2°C) and provides.
The Basement Project Installing DRIcore Subfloor Suburble
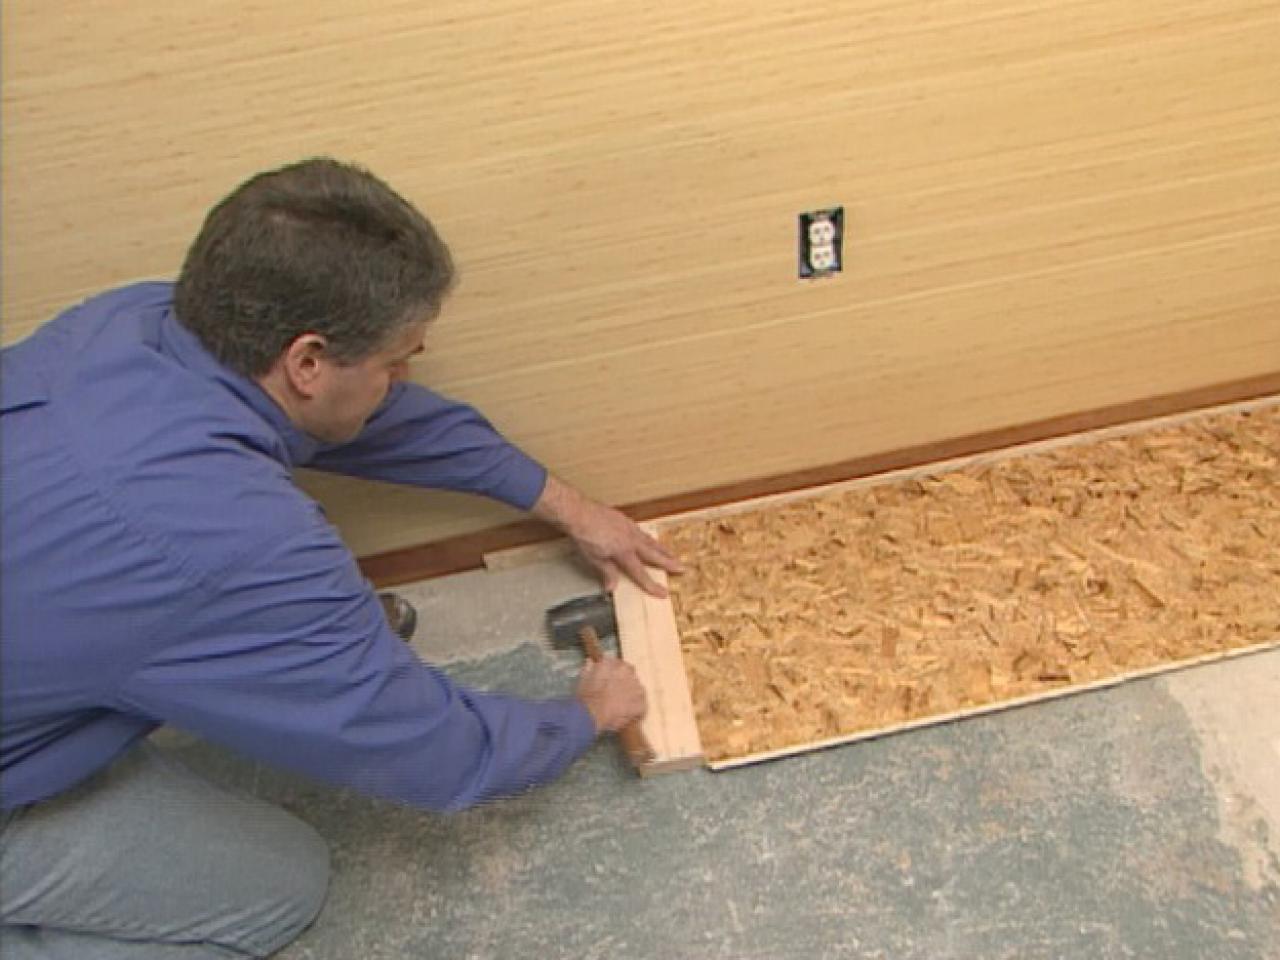
Install your 2"x4" walls directly on top of the DRI-core panels, measuring for a "snug" fit between the panels and ceiling. Once the walls are framed and in position, fasten each end of the base plate with a concrete fas-tener through the base plate, DRIcore panels and into the concrete floor. 5.

How to Install a DRIcore Subfloor in Your Basement (with Pictures)
This DIY video tutorial will show how to install DRIcore floating subfloor. I installed this over my concrete basement floor. This only took a full a day to.

How to Install a DRIcore Subfloor in Your Basement (with Pictures)
DRIcore® is designed to act as a floating subfloor. It is not recommended that ceramic tile be directly attached to DRIcore® as the movement of the floating subfloor will cause tile and grout lines

Our Basement Journey Part 2 Installing the DRIcore Subfloor A Pretty
It's important to make sure that the last piece in the row is at least 3″ wide. Step 4: Time to start placing the DRIcore Subfloor panels! The first panel must be placed in a corner with tongue sides against the temporary 1/4″ spacers. Step 5: Time for the second piece!
